Here's a ridiculously detailed set of screengrabs of how to install debian in virtualbox. It ends with a five-point list of things to do post-install. My motivation was to create a sparse build environment which would help me hammer out depencies.
VIrtualbox can be handles completely in the terminal too:
In particular, starting an existing machine:
me@beryllium:~$ VBoxManage startvm debian_barebone
Waiting for VM "debian_barebone" to power on...
VM "debian_barebone" has been successfully started.
Just make sure that you've opened up portforwarding for ssh:
VBoxManage modifyvm "debian_barebone" --natpf1 "guestssh,tcp,,2222,,22"
Anyway: the graphical way:
Setting up the virtual machine
 |
| Name the vm and select os type and version |
 |
| The amount of RAM you give the VM depends on what you will use it for. |
 |
| Create a new harddisk |
 |
| VDI is for virtualbox, VMDK is for VMWare |
 |
| Dynamic will start small and grow as files are added. |
 |
| A minimum of 3-4 GB is recommended, or apt cache might eat up all your space |
 |
| And you're almost done. |
 |
| Attach the debian install iso |
 |
| USB is optional. |
 |
| You can add a shared folder, but it's not necessary. |
 |
| Don't touch this -- just make sure that the network adapter is enabled |
 |
| Optional |
Start the virtual machine, which will launch the installation.
Installing debian
 |
| The installation procedure is the same as on a 'real' computer. |
 |
| Pick a language... |
 |
| ...a country... |
 |
| ...a keyboard layout... |
 |
| ...and let debian do a bit of preparation. |
 |
| Choose a hostname. |
 |
| Normally leave domain blank. |
 |
| Leave root password blank. This way sudo will be the default way of administration. |
 |
| Leave blank. |
 |
| Pick a name, any name. |
 |
| Debian will suggest a user name based on the real name, but pick anything. |
 |
| Pick a password. You'll have sudo access by default, so pick a good one. |
 |
| Repeat your password |
 |
| What about Melbourne/Victoria??? |
 |
| Normally Guided is a bad idea. |
 |
| First you need to 'format' your harddrive |
 |
| It won't touch your REAL harddrive, so relax |
 |
| Create a partition -- we'll only create one linux partition, / |
 |
| Create a new partition |
 |
| Give it most of the space on your HDD, but not all |
 |
| Primary is a good choice. Logical only acts as a container, and isn't necessary for such a small setup. |
 |
| Just go for the default settings. |
 |
| Time to create a small swap, since we only gave our VM 256 Mb |
 |
| Give the swap everything remaining |
 |
| Primary again |
 |
| Select Use as... |
 |
| ...SWAP |
 |
| All is good |
 |
| Make changes permanent |
 |
| Write changes |
 |
| Pick the generic kernel |
 |
| ...like so |
 |
| Unless you do have another CD, don't bother |
 |
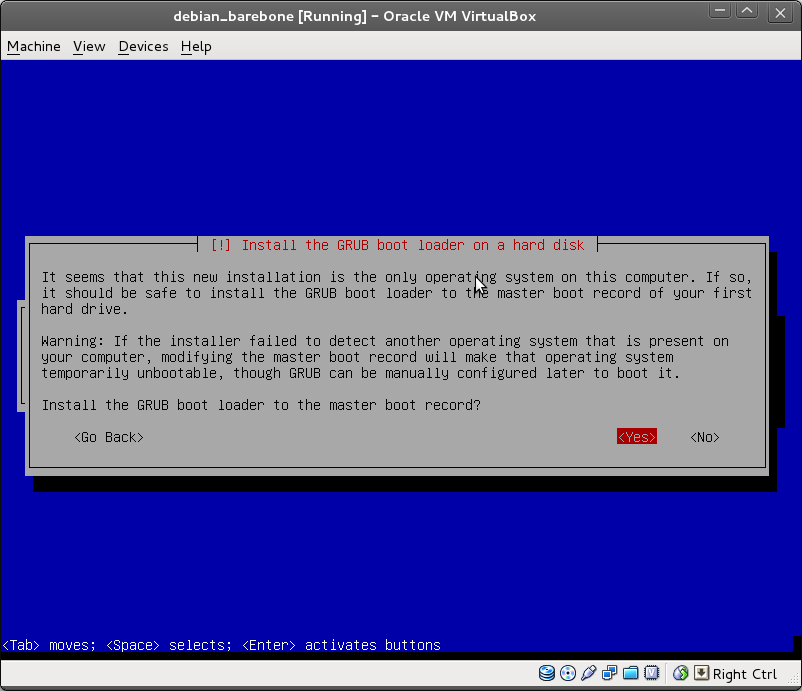
| If you're connected to the net, go ahead and use a mirror |
First boot
Things to do after installation:
0. With your virtual machine turned off, on the (linux)
host do
VBoxManage modifyvm "debian_barebone" --natpf1 "guestssh,tcp,,2222,,22"
to allow you to ssh to your virtual debian installation using
ssh verahill@localhost -p 2222
Boot your virtual machine and
1. Remove the CD from the /etc/apt/sources.list
2. sudo updatedb to populate the locate database
3. sudo apt-get install bzip2 to avoid the i18n header error:
W: Failed to fetch copy:/var/lib/apt/lists/partial/server_pub_linux_debian_dists_wheezy_non-free_i18n_Translation-en Encountered a section with no Package: header
3. sudo apt-get update
4. install ssh server:
sudo apt-get install openssh-server
5. Install a graphical environment: See
this guide
The shortest summary of that would be:
sudo apt-get install lxde
sudo shutdown -r now