!NOTE!
Pre-built binaries of ECCE now ONLY exist for 64 bit OS -- if you install a 32 bit version of debian you will have to compile ECCE yourself. It's not difficult, but please be aware of it.
!NOTE2! If you provide ECCE with 'localhost' as the hostname during installation, be aware that this will block outside access:
http://www.nwchem-sw.org/index.php/Special:AWCforum/st/id858/#post_3178
See this post for ECCE 6.4 of Debian 7 (wheezy):
http://verahill.blogspot.com.au/2013/05/434-ecce-64-on-debian-7-in-32-bit.html
!NOTE!
Sadly, not everyone uses linux. Some even refuse to give it a proper consideration. Since the goal here is science rather than OS enlightenment, we'll have to accept that some people will have to run ECCE in a virtual machine rather than using it natively (something like WINE but going the other direction would be nice).
Win/Mac users should not be surprised if graphics heavy applications like ECCE don't run very fast in a virtual machine though, but they will be the source of that frustration themselves.
Here's the whole sequence from downloading an iso to having ECCE ready to submit jobs from inside a virtual machine.
I'm doing all these steps on linux since I simply don't use or have access to windows (other than as a very small virtualbox install), so let me know if there's anything which won't work on windows. I'm particularly interested in XP since that's what most people in academia still use.
You can of course use these instructions on a proper debian installation as well.
The only reason this post is so long is because of the number of screen shots. It is NOT COMPLICATED OR DIFFICULT, so don't be put off by the length.
Index:
1. Install virtualbox
2. Set up the machine
3. Download the debian iso
4. Install debian in virtualbox
5. Customize your debian installation
6. Installing ECCE
7. Setting up ECCE
8. Launching a test calc.
9. Moving files back and forth between virtual debian and windows
1. Install Virtualbox
I've tested this step in my virtual XP machine, so it should work fine on a 'real' XP machine.
Download the windows installer:
http://download.virtualbox.org/virtualbox/4.1.16/VirtualBox-4.1.16-78094-Win.exe . If the link doesn't work, then go to
https://www.virtualbox.org/wiki/Downloads
Start the installer. It appears to be a bit buggy since the 'back' button doesn't work, so make sure that you think about your choices. Otherwise starting over isn't that hard.
...and start. You'll get a warning about network interfaces being reset. That's fine.
You get five of those Unsigned driver thingy warnings -- a Microsoft protection racket if you'd ask me (compatibility assurance is a good thing -- forcing developers to pay for warnings to go away isn't). Just click continue.
When you're done, launch:
Download the extensions from here:
http://download.virtualbox.org/virtualbox/4.1.16/Oracle_VM_VirtualBox_Extension_Pack-4.1.16-78094.vbox-extpack
Click on Machine, Preferences and select Exentions. Click on the small Blue rhomb with the orange triangle on it on the right side of the window, navigate your way to where you downloaded the extension and install it:
And this is what it looks like when you're done:
2. Set up a new machine
Click on New. Follow the instructions.
A few things to think about:
* Assign a reasonable amount of RAM, whatever that means. I'd suggest 1-1.5 Gb if you have 4 Gb machine. I'm testing 512 Mb in this example to see what the lower requirements are.
* Definitely make your hard drive big enough from the beginning since expanding it isn't that easy.
Here's a series of screen grabs:
Select Linux, Debian (64 bit if possible)
Set the amount of RAM. The more the merrier, but leave enough for your OS.
Use a dynamically expanding HDD.
10 Gb is a good start, but you'll have to move computational files off of the virtual hard drive periodically. The underlying OS only uses a small amount of storage space, but ECCE -- depending on what you do in it -- can use a lot more.
3. Download the iso
Clicking the following URL will hopefully start a download:
http://ftp.nl.debian.org/debian/dists/squeeze/main/installer-amd64/current/images/
If not, then have a look at this page:
http://www.debian.org/distrib/netinst and click on AMD64 under Small CDs (180 Mb). This will get you the latest Debian Squeeze, which is a bit old but rock solid. Upgrading to testing is a breeze if you should want to do that later.
4. Installing Debian
Select your new machine, and click on settings.
Click on Storage
Mount the iso you downloaded
When all is good it should look like this:
Hit OK.
Two things you'll need to know at this point:
- Right CTRL is your 'host' key. Hit (right) CTRL to release the mouse from the virtual desktop
- Switch between full-screen mode using (right) CTRL+f (host+f)
Now you're ready to start your virtual machine, so click on Start, which brings you to this:
Most of the choices are fairly simple to answer so I won't cover them.
I selected:
Hostname - vecce
Domain name -- (empty)
Pick the mirror country that correspond to the country you're in. As for the actual mirror server, the first choice is normally ok. You can see if your uni is on the list, which will make it even faster.
Don't type anything when it asks for root password (done twice) since it's better (imho) to use sudo.
Our new user is called ecce, and this user will automatically be granted sudo powers.
Once you get to the partitioning, make sure to select Manual, and follow the screenshots below:
First you need to format your harddrive. Remember, by harddrive we're really talking about a file on your disk, so screwing this up will NOT affect your windows computer in any shape or form.
Having a Swap partition for a virtual HDD makes absolutely no sense.
Now your base system will install, and you'll eventually get to this screen. De-select the graphical desktop environment since we want to save space and resources -- gnome is wonderful, but demanding. We'll put LXDE on it later.
Install grub to the MBR. Remember, our harddrive is still just a file on your physical harddrive.
That's basically it. Click continue in the screen below, and your virtual system will restart.
And here's what'll great you on reboot:
You're now ready to log on and do some damage.
5. Customize your debian installation
So log on:
Make sure you have working internet by e.g. doing
ping -c 3 google.com
Now, type
sudo apt-get install lxde
type your password (you'll get a warning about great reponsibilities
etc.), and answer yes to any questions
Once the install has finished, type
sudo shutdown -r now
which will cause a reboot which will bring you to this screen:
I use gnome 3/gnome-shell myself, so I'm not particularly familiar with LXDE, so if anything looks weird in the following steps, that's why.
Log on:
You'll find your terminal (LXTerminal) by clicking on what constitutes the Start Menu down on the left:
First install a web browser (in this case chromium -- essentially a re-branded Chrome):
sudo apt-get install chromium-browser
Start chromium by clicking on the web browser icon in the panel launcher down in the bottom left corner:
6. Installing ECCE
Download ECCE:
Install csh by typing
sudo apt-get install csh
in the terminal
Then do
cd ~/Downloads
chmod +x install_ecce.v6.3.rhel5-gcc4.1.2-m64
csh install_ecce.v6.3.rhel5-gcc4.1.2-m64
Select Full Install [3]
Change the hostname to localhost
Set the application install path to /home/ecce/ecce-v6.3/apps and the server directory to /home/ecce/ecce-v6.3/server
Then install.
Now, start leafpad:
Open ~/.bashrc (the ~ means it's in your home folder). You do that by clicking on File, Open, then click on file system, home, ecce, hit ctrl+H to show hidden files, and select .bashrc
Add the following to the end of the file:
export ECCE_HOME=/home/ecce/ecce-v6.3/apps
export PATH=$PATH:${ECCE_HOME}/scripts
alias startecceserver='/home/ecce/ecce-v6.3/server/ecce-admin/start_ecce_server'
alias stopecceserver='/home/ecce/ecce-v6.3/server/ecce-admin/stop_ecce_server'
Save, and exit leafpad.
Type
source ~/.bashrc
in your terminal. This will make the terminal read the new settings.
You still can't start since you're missing java:
So, in your terminal, do
sudo apt-get install default-jre
First make sure the ecce server isn't running
stopecceserver
then launch ecce
ecce
You're now being invited to set a new password:
Clicking OK launches what is called the Gateway:
7. Setting up ECCE
You're more than half-way there. The exact set up will depend on what you're trying to achieve and I've documented it elsewhere on this blog.
However, because I'm writing this guide with a couple of specific people in mind, I'll show how to set up a remote ROCKS site to submit to, using node hopping.
In the terminal, type
ecce -admin
Set up as shown in the screen shot:
Don't forget to hit add/change queue
first,
then add/change in the bottom left, then close.
Because we're doing a lot of cool, advanced stuff we need to do some manual editing: we need to define the public url, and we need to define our SGE (Sun Grid Engine) settings and finally, we need to set up a couple of environment variables.
In the terminal, do
cd ~/ecce-v6.3/apps/siteconfig/
chmod u+rw CONFIG.rocks
Otherwise the file will be write-protected.
Using leafpad, open the CONFIG.rocks file which is found in /home/ecce/ecce-v6.3/apps/siteconfig/
Add the following (look at the screenshot below):
frontendMachine: rocks.university.edu
SGE {
#$ -S /bin/csh
#$ -cwd
#$ -l h_rt=$walltime
#$ -l h_vmem=$memoryG
#$ -j y
#$ -pe orte $totalprocs
}
NWChemEnvironment{
LD_LIBRARY_PATH /usr/lib/openmpi/1.3.2-gcc/lib/
}
NWChemCommand {
/opt/openmpi/bin/mpirun -n $totalprocs $nwchem $infile > $outfile
}
Gaussian-03Command {
setenv GAUSS_SCRDIR /tmp
setenv GAUSS_EXEDIR /share/apps/gaussian/g09/bsd:/share/apps/gaussian/g09/local:/share/apps/gaussian/g09/extras:/share/apps/gaussian/g09
time /share/apps/gaussian/g09/g09 $infile $outfile }
Save and exit. (note the $memoryG so you don't put in 4000 but instead use 4 when setting memory during submission in launcher)
In the ECCE gateway, click on Machine Browser
Select rocks and click on Set Up Remote Access, give the user name and password. If all goes well, if you hit e.g. Disk Usage, you should see this:
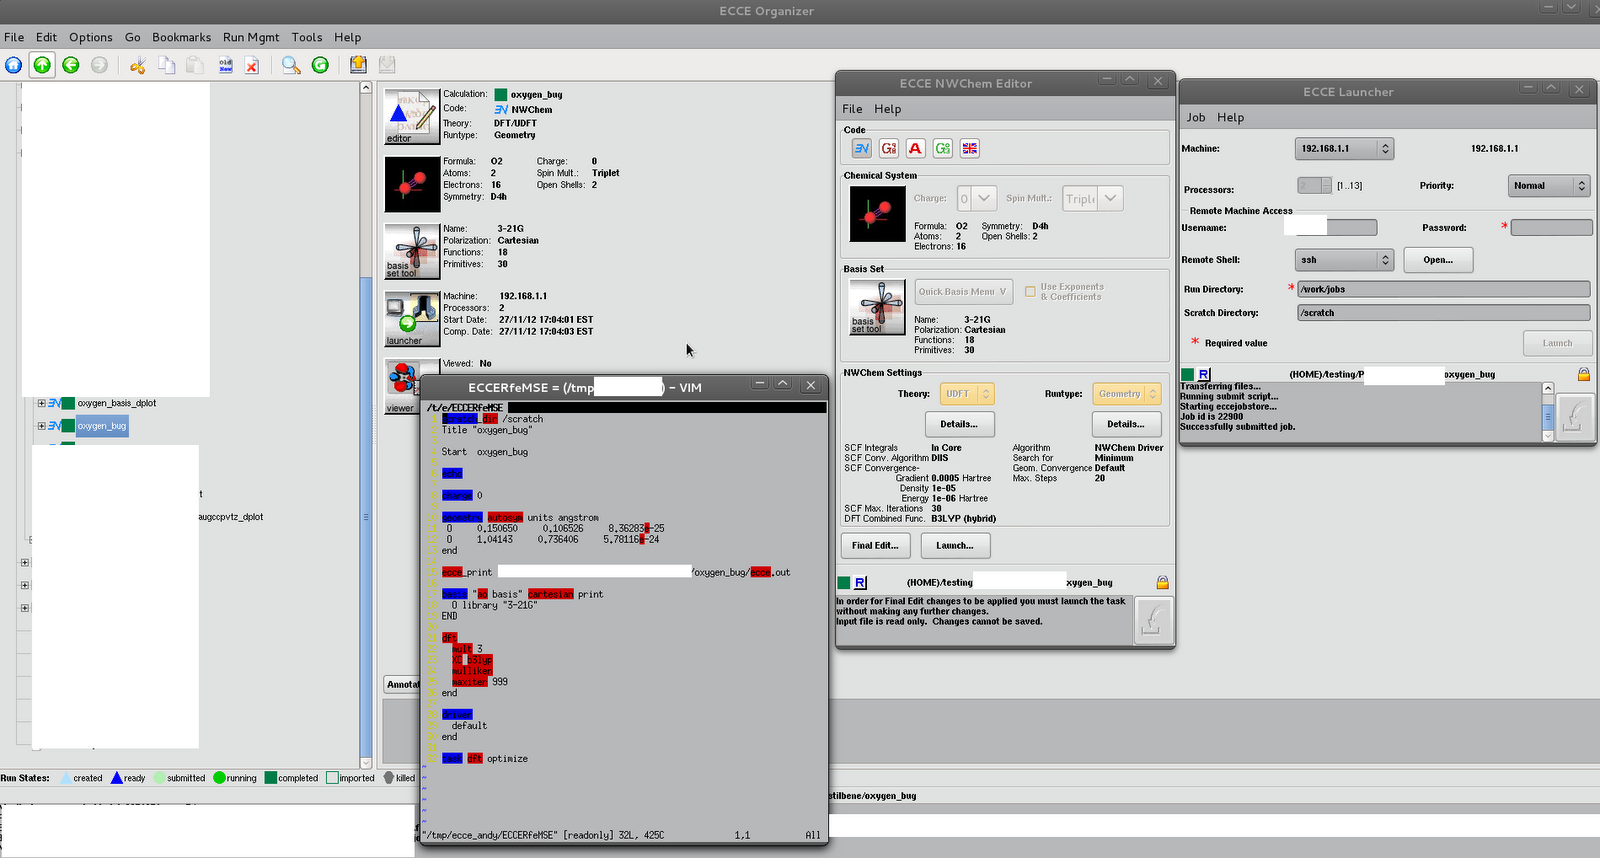
8. Launching a test calc
Click on Organizer in the Gateway.
If you can't select basis set, theory etc. at this point, close the editor, then open again. Might be because it's the first run ever.
And launch:
When it's done, it looks like this. Depending on your SGE set-up everything can be very fast, or every step can take a minute. To follow in real-time, click in Viewer. To see the output file, hit Run Mgmt and select tail -f. To look at output fiel from completed run, go to Run Mgmt and select Output.
It's fun, and easy!
9. Moving files back and forth between your virtual debian and windows
First shut down your virtual machine, then click on settings.
When your virtual machine is running you can access it from e.g. windows using sftp with e.g.
Filezilla like this:
I hope this guide has been useful. Again, it's long because of the level of detail, not because it's difficult in any way.
Learning how to use ECCE properly is a completely different tutorial. I might put up some examples with increasing complexity in the future.